
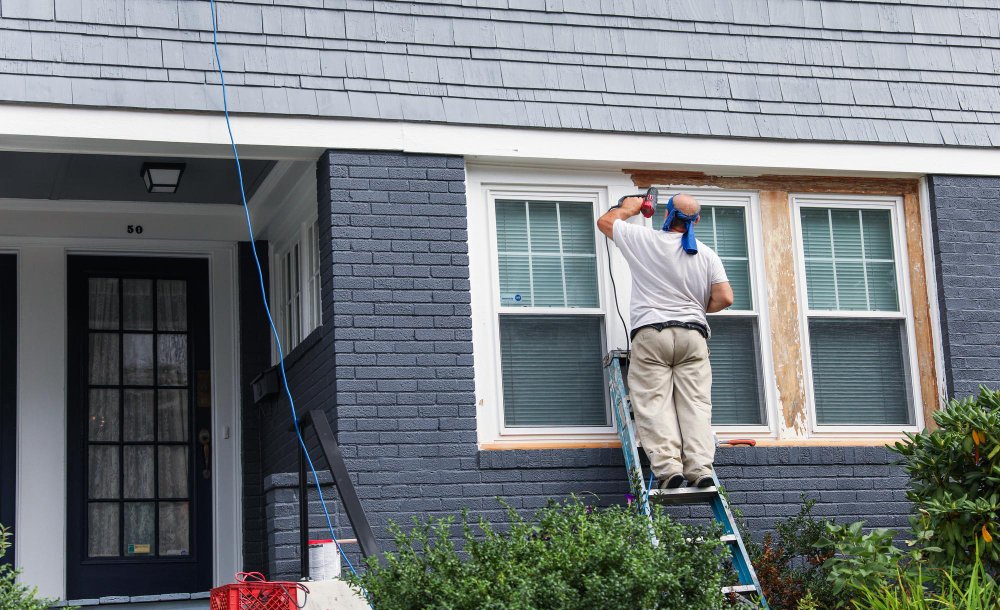
Exterior siding serves as your home’s first line of defense against weather, moisture, and pests. When deterioration begins, even small areas of damage can quickly spread and create larger structural issues. Homeowners researching how to repair rotted siding are often trying to stop a minor problem before it becomes a costly renovation project.
Rotten siding is more than a cosmetic concern. If moisture penetrates behind exterior cladding, it can damage insulation, framing, and even indoor walls. Fortunately, catching the problem early allows homeowners to address repairs before extensive replacement becomes necessary.
This guide explains how to identify, repair, and prevent siding rot while protecting your home’s long-term value.
What Causes Siding to Rot?
Wood and engineered siding materials can deteriorate when exposed to excessive moisture over long periods.
Several factors contribute to rot development.
Common Causes Include:
- Poor drainage systems
- Clogged gutters
- Damaged caulking
- Improper flashing
- Ground contact with siding
- Neglected maintenance
Understanding the source of moisture is the first step toward a permanent solution.
Warning Signs of Rotted Siding
Early detection can save thousands of dollars in repairs.
Inspect Your Home For:
- Soft or spongy surfaces
- Cracked paint
- Warped boards
- Discoloration
- Mold growth
- Peeling finishes
Pay special attention to areas around windows, doors, and roof intersections.
These locations frequently experience moisture exposure.
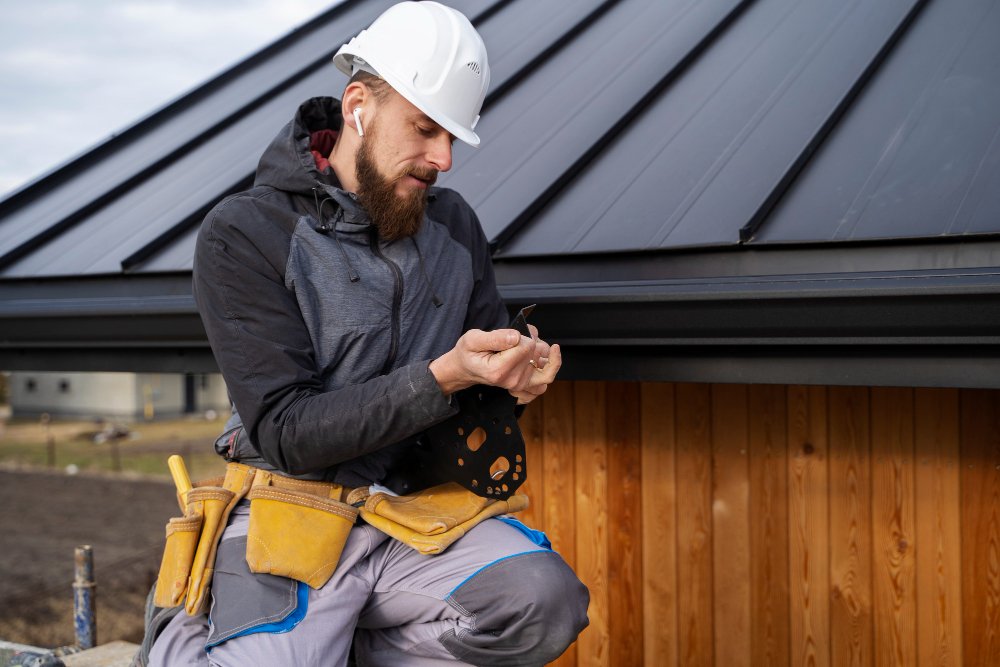
Tools and Materials You’ll Need
Before beginning repairs, gather the proper supplies.
Recommended Tools
- Utility knife
- Pry bar
- Hammer
- Circular saw
- Caulking gun
- Safety goggles
- Work gloves
Recommended Materials
- Replacement siding
- Exterior caulk
- Wood hardener
- Primer
- Exterior paint
- Flashing materials
Quality materials improve long-term durability.
Step 1: Identify the Full Extent of Damage
Do not repair only the visible area.
Rot often spreads beneath the surface.
Use a screwdriver to gently probe surrounding sections.
If the material feels soft, additional replacement may be necessary.
Inspect:
- Wall sheathing
- Insulation
- Window trim
- Flashing systems
Addressing hidden damage prevents recurring problems.
Step 2: Remove Damaged Siding
Carefully remove affected sections.
Take care not to damage adjacent panels.
Removal Tips:
- Loosen nails gradually
- Protect surrounding materials
- Label pieces for reference
- Dispose of damaged sections safely
Work slowly to preserve nearby siding.
Step 3: Repair Underlying Structural Components
Before installing new siding, inspect what lies beneath.
Replace damaged:
- Sheathing
- House wrap
- Insulation
- Flashing
Skipping this step may allow moisture problems to continue unnoticed.
Structural integrity always takes priority.
Step 4: Install Replacement Siding
Accurate measurements ensure a professional appearance.
Cut replacement pieces carefully.
Installation Best Practices:
- Leave proper expansion gaps
- Secure fasteners correctly
- Avoid overdriving nails
- Align panels evenly
Proper installation protects against future weather exposure.
Step 5: Seal and Paint the Repair Area
Sealing protects vulnerable joints.
Apply high-quality exterior caulk around:
- Windows
- Doors
- Trim intersections
- Corner joints
Then apply:
- Exterior primer
- Matching paint
- Protective coatings
This creates a weather-resistant barrier.
How to Prevent Future Siding Rot
Prevention is far less expensive than repairs.
Homeowners learning how to repair rotted siding should also establish maintenance routines.
Annual Maintenance Checklist
- Clean gutters regularly
- Inspect caulking
- Trim landscaping
- Check flashing systems
- Wash exterior surfaces
Consistent maintenance dramatically extends siding lifespan.
When Repairs Are Not Enough
Some situations require full replacement.
Consider Replacement If:
- Damage is widespread
- Structural framing is affected
- Multiple walls show deterioration
- Siding is nearing end of life
Professional evaluations help determine the best approach.
Best Siding Materials for Moisture Resistance
If replacement is necessary, consider modern alternatives.
Popular Options Include:
- Fiber cement siding
- Engineered wood siding
- Vinyl siding
- Composite siding
These products offer improved durability compared to traditional wood.
How Siding Repairs Protect Home Value
Exterior improvements consistently rank among the highest-return investments.
Timely repairs can:
- Prevent structural damage
- Improve curb appeal
- Increase resale value
- Reduce future costs
- Enhance weather protection
Buyers often view well-maintained exteriors as signs of overall property care.
Homeowners researching repairing damaged siding options frequently discover that proactive maintenance saves significant money over time.
Questions Homeowners Should Ask
- What caused the moisture problem?
- How extensive is the damage?
- Can repairs solve the issue?
- Should I replace the entire wall?
- Do I need professional help?
These questions simplify decision-making.
Final Thoughts
Learning how to repair rotted siding allows homeowners to address problems before they become expensive structural issues. Early intervention, proper repairs, and routine maintenance protect both your home and your investment.
Although some repairs can be completed by experienced DIY homeowners, extensive damage often requires professional assistance.
By understanding how to repair rotted siding and establishing regular inspections, homeowners can preserve curb appeal, energy efficiency, and long-term property value for decades to come.